Can You Keep Driving With Code P0562?
Driving with code P0562 active poses an immediate risk of permanent mechanical failure. NO. The car may die completely at any moment once the battery runs out of stored power. Continued driving can cause valve-to-piston contact, catalytic converter melting from raw fuel dumping, or sudden loss of vehicle motive power. We strongly recommend parking the vehicle or having it towed to a certified repair facility.
What Code P0562 Means
Trouble code P0562 is defined by standard SAE/ISO diagnostic protocols as System Voltage Low. The engine control computer monitors this circuit and mechanical subsystem continuously through dedicated telemetry sensors. When sensor readings or calculated performance metrics deviate outside calibrated factory boundaries for more than two consecutive drive cycles, the computer records Freeze Frame diagnostic data and illuminates the Check Engine light on your instrument cluster.
How the Alternator Charging System & 12V Battery Operates
The automotive electrical system relies on a lead-acid or AGM 12V battery for engine starting and an alternator for powering all onboard electronic modules while the engine is running. The alternator uses electromagnetic induction via a spinning rotor and three-phase stator windings to generate alternating current (AC), which is converted to direct current (DC) by an internal six-diode rectifier bridge. An electronic voltage regulator modulates rotor field current to maintain system voltage between 13.8V and 14.7V.
Modern vehicles employ Smart Charging algorithms managed by the ECM via a battery current sensor (hall effect ring) on the negative battery terminal. The ECM varies alternator output based on battery temperature, state-of-charge, and acceleration demands (decoupling alternator load during hard acceleration). If system voltage drops below 11.5V or spikes above 15.5V, multiple microprocessors suffer brown-outs, triggering system voltage codes.
The Most Common Diagnostic Mistake
Don't Replace Alternator Without Checking Negative Ground Cable: Before buying a new alternator, perform a 60-second voltage drop test across the negative battery terminal to the engine block and chassis ground. In road-salt states, corrosion builds between the battery ground cable and the steel chassis frame. This invisible resistance prevents the alternator from charging the battery, fooling DIYers into replacing good alternators when a $15 ground cable wire-brushing was the cure.
Common Symptoms & Driving Observations
When code P0562 triggers, drivers typically report one or more of the following physical driving symptoms:
- Battery / alternator warning light on dashboard: Typical driving observation associated with Alternator Charging System & 12V Battery malfunctions under real-world road conditions.
- Dim headlights and sluggish power windows: Felt as a flat spot or delayed throttle response when attempting to merge or pass on the highway.
- Radio and dashboard screens flickering or shutting off: Typical driving observation associated with Alternator Charging System & 12V Battery malfunctions under real-world road conditions.
- Transmission shifting into limp mode or engine stalling: Observed while stopped at red lights or in Drive with your foot on the brake pedal.
Diagnostic Triage: Likely Causes & First Checks
To avoid spending money on unneeded parts, triage the most frequent failure points starting with the easiest and least expensive DIY checks first:
| Likely Cause | Subsystem | Triage Priority | Diagnostic Action |
|---|---|---|---|
| Failing alternator / internal voltage regulator | Alternator Charging System & 12V Battery | Check First (DIY) | Measure voltage across battery terminals with engine running (healthy alternator produces 13.8V – 14.5V; below 12.5V means alternator is dead). |
| Loose or broken alternator serpentine belt | Alternator Charging System & 12V Battery | DIY Inspection | Clean battery terminals with baking soda and wire brush to remove green/white acid crust. |
| Heavily corroded battery terminal clamps | Alternator Charging System & 12V Battery | Bench Test | Inspect serpentine belt for tension and cracks. |
| Severely degraded 12V car battery | Alternator Charging System & 12V Battery | Shop Diagnostic | Replace alternator or battery as indicated by multimeter test. |
Step-by-Step Diagnostic Protocol
Follow this systematic 4-step diagnostic protocol before ordering replacement parts:
Test Battery Rest Voltage & Cold Cranking Health [Digital Multimeter & Conductance Battery Analyzer]
With the engine off for at least 1 hour, measure battery open-circuit voltage across the lead posts (not the cable clamps).
Pass/Fail: A fully charged battery measures 12.6V–12.7V (12.2V is 50% discharged). During cranking, voltage must not drop below 9.6V.
Measure Running Charging Voltage Across Battery Terminals [Digital Multimeter (DC Volts)]
Start the engine and run at 1,500 RPM with headlights, rear defroster, and AC blower fan turned on high to place load on the alternator.
Pass/Fail: Charging voltage must measure between 13.8V and 14.6V. Readings below 13.2V indicate an undercharging alternator; above 15.2V indicates a runaway voltage regulator.
Perform Alternator Ground Voltage Drop Test [Digital Multimeter (DC Millivolts)]
With engine running under electrical load, touch the negative multimeter probe to the negative battery post and the positive probe to the bare metal alternator aluminum case.
Pass/Fail: Voltage drop across the ground circuit must be under 0.20V (200mV). Higher drop indicates bad engine ground straps.
Test Alternator Diode Ripple for AC Leakage [Multimeter switched to AC Volts]
With engine running, measure AC millivolts across the battery positive and negative posts. This tests the alternator rectifier diodes.
Pass/Fail: AC ripple must be under 0.05V (50mV AC). Readings above 0.1V indicate a blown rectifier diode sending dirty AC voltage into vehicle computer networks.
Estimated Repair Costs: DIY vs Professional Shop
Average repair pricing based on OEM parts, standard labor times, and national independent repair shop rates:
| Repair / Replacement Stage | DIY Parts Only | Independent Mechanic | Dealership Service |
|---|---|---|---|
| Battery Terminal & Negative Ground Cable Service | $15 – $40 | $75 – $140 | $120 – $220 |
| 12V AGM / Flooded Battery Replacement | $120 – $240 | $180 – $320 | $280 – $460 |
| Alternator Assembly & Drive Belt Replacement | $160 – $380 | $380 – $680 | $620 – $1,100 |
Related Field Guides & Cost Tools
Test for parasitic battery drain vs alternator charging failures with a basic multimeter.
Calculate your true cost of ownership, compare DIY savings against mechanic labor rates, and estimate your running cost per mile.
Never lose another repair receipt or fuel log
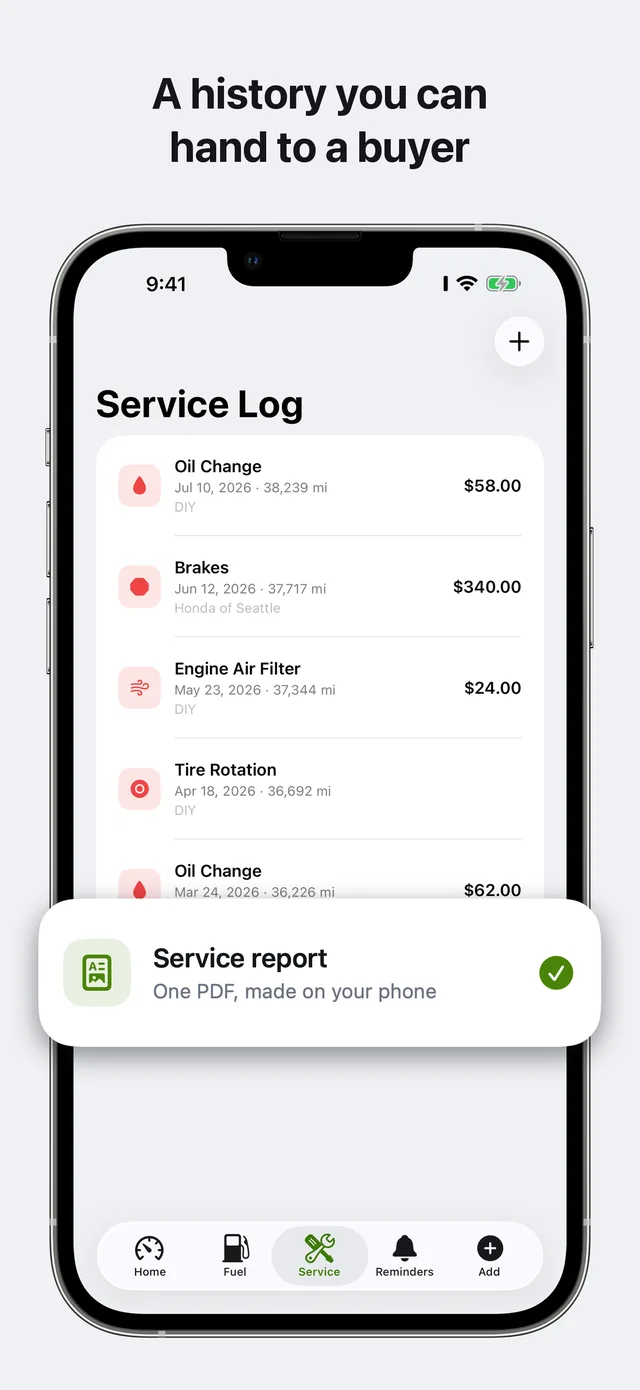
Keep your complete service history, real full-tank MPG, and diagnostic records organized on your iPhone. Carvico alerts you before service is overdue and gives you verified PDF records when you sell — 100% private on your own iCloud with zero ads.
Related Diagnostic Codes
Camshaft Position Actuator Circuit (Bank 1)
Electrical circuit fault in the intake variable valve timing (VVT) solenoid on cylinder Bank 1.
P0011Camshaft Position 'A' Timing Over-Advanced (Bank 1)
The intake camshaft timing on Bank 1 is further advanced than the ECU commanded.
P0012Camshaft Position 'A' Timing Over-Retarded (Bank 1)
The intake camshaft timing on Bank 1 is lagging behind the computer's commanded timing advance.
P0013Exhaust Camshaft Position Actuator Circuit (Bank 1)
Electrical fault detected in the exhaust variable valve timing (VVT) solenoid circuit on Bank 1.