Can You Keep Driving With Code P0456?
Driving with code P0456 active poses an immediate risk of permanent mechanical failure. Yes. Completely safe to drive. Causes no engine damage or drivability issues. Continued driving can cause valve-to-piston contact, catalytic converter melting from raw fuel dumping, or sudden loss of vehicle motive power. We strongly recommend parking the vehicle or having it towed to a certified repair facility.
What Code P0456 Means
Trouble code P0456 is defined by standard SAE/ISO diagnostic protocols as EVAP System Very Small Leak Detected (.020 Inch). The engine control computer monitors this circuit and mechanical subsystem continuously through dedicated telemetry sensors. When sensor readings or calculated performance metrics deviate outside calibrated factory boundaries for more than two consecutive drive cycles, the computer records Freeze Frame diagnostic data and illuminates the Check Engine light on your instrument cluster.
How the Evaporative Emission Control (EVAP) Operates
The Evaporative Emission Control (EVAP) system prevents volatile hydrocarbon fuel vapors inside the gas tank from venting into the atmosphere. Vapors from the tank head-space travel through roll-over and vent valves into an underbody canister packed with activated charcoal granules. During cruising, the ECM opens a duty-cycled EVAP purge solenoid on the intake manifold, allowing engine vacuum to draw stored vapors into the cylinders to be cleanly burned.
The ECM periodically tests system integrity by closing the purge and vent valves, pulling a subtle vacuum on the fuel tank using engine vacuum or an electric leak detection pump (LDP), and monitoring the pressure decay rate via a Fuel Tank Pressure (FTP) sensor. If the system fails to hold vacuum or loses pressure faster than a calibrated threshold (e.g. 0.020" or 0.040" equivalent hole diameter), an EVAP leak code is stored.
The Most Common Diagnostic Mistake
Don't Buy a New Gas Cap Without Checking the Filler Neck: When an EVAP leak code appears, over 60% of vehicle owners buy a cheap aftermarket gas cap. However, in northern states and humid climates, the real culprit is often rust and road grit buildup on the metal lip of the fuel filler neck. The rubber gasket cannot seal against rough rust scale, meaning even a brand-new gas cap will fail the vacuum test. Clean the metal rim with fine emery cloth, apply a thin film of silicone grease, and re-test before spending money.
Common Symptoms & Driving Observations
When code P0456 triggers, drivers typically report one or more of the following physical driving symptoms:
- Check Engine light illuminated: Illuminates steady on the dashboard to warn that onboard telemetry exceeded calibrated limits for two drive cycles.
- Failed state smog inspection: Typical driving observation associated with Evaporative Emission Control (EVAP) malfunctions under real-world road conditions.
- Occasional faint gas smell when parked in a garage: Noticeable near the rear tailpipe or through cabin ventilation vents while idling in traffic.
- Zero engine power loss: Felt as a flat spot or delayed throttle response when attempting to merge or pass on the highway.
Diagnostic Triage: Likely Causes & First Checks
To avoid spending money on unneeded parts, triage the most frequent failure points starting with the easiest and least expensive DIY checks first:
| Likely Cause | Subsystem | Triage Priority | Diagnostic Action |
|---|---|---|---|
| Loose gas cap or dirt on the filler neck mating surface | Evaporative Emission Control (EVAP) | Check First (DIY) | Wipe clean the metal filler neck and install an OEM-specification gas cap. |
| Hairline crack in plastic EVAP vapor tubing | Evaporative Emission Control (EVAP) | DIY Inspection | Clear codes and drive normally for 1 week. |
| Deteriorated seal on the EVAP vent valve | Evaporative Emission Control (EVAP) | Bench Test | If code returns, an EVAP smoke machine test is the only reliable way to pinpoint a 0.020" leak. |
| Microscopic crack in charcoal canister casing | Evaporative Emission Control (EVAP) | Shop Diagnostic | Check vent valve solenoid near the rear axle for internal seal wear. |
Step-by-Step Diagnostic Protocol
Follow this systematic 4-step diagnostic protocol before ordering replacement parts:
Inspect Fuel Cap Rubber O-Ring & Filler Neck Lip [Visual Inspection & Clean Cloth]
Remove the gas cap and inspect the rubber sealing ring for dry-rot cracking, flat spots, or dirt. Wipe the metal lip of the fuel filler neck clean and inspect for rust pitting or burrs.
Pass/Fail: The rubber gasket must be pliable with no tears; the metal filler rim must be smooth with zero rust pitting.
Vacuum Test the Underhood Purge Solenoid [Handheld Vacuum Pump with Gauge]
Locate the EVAP purge solenoid on the engine intake manifold. Disconnect the vacuum hose leading to the fuel tank. Connect a hand vacuum pump to the valve nipple with the engine and ignition OFF.
Pass/Fail: The unpowered purge solenoid must hold 15 in-Hg of vacuum indefinitely. If vacuum bleeds off, the internal valve seat is leaking fuel vapors into the intake.
Inspect Vent Valve Underneath Charcoal Canister [12V Test Leads & Flashlight]
The EVAP vent solenoid is located near the rear fuel tank or canister. Check for road salt corrosion on the connector pins. Apply 12V to verify the valve seals shut completely during testing.
Pass/Fail: Vent valve must remain normally open to atmosphere and snap airtight when 12V power is energized.
Perform Professional EVAP Smoke Machine Leak Test [Automotive Smoke Generator with Nitrogen / Fluorescent Dye]
Connect a smoke machine to the green EVAP service port under the hood. Command the vent valve closed via scan tool and pump low-pressure (0.5 PSI) smoke throughout the fuel system.
Pass/Fail: Zero smoke should escape from any hose clamp, quick-connect fitting, canister housing, or fuel pump lock ring.
Estimated Repair Costs: DIY vs Professional Shop
Average repair pricing based on OEM parts, standard labor times, and national independent repair shop rates:
| Repair / Replacement Stage | DIY Parts Only | Independent Mechanic | Dealership Service |
|---|---|---|---|
| OEM Fuel Tank Filler Cap & Seal | $20 – $40 | $45 – $75 | $60 – $110 |
| EVAP Canister Purge Solenoid Valve | $35 – $85 | $140 – $220 | $220 – $340 |
| EVAP Charcoal Canister / Vent Solenoid | $95 – $220 | $240 – $420 | $380 – $650 |
Related Field Guides & Cost Tools
Why EVAP codes and loose gas caps trigger the check engine light, and how to verify purge valves.
Calculate your true cost of ownership, compare DIY savings against mechanic labor rates, and estimate your running cost per mile.
Never lose another repair receipt or fuel log
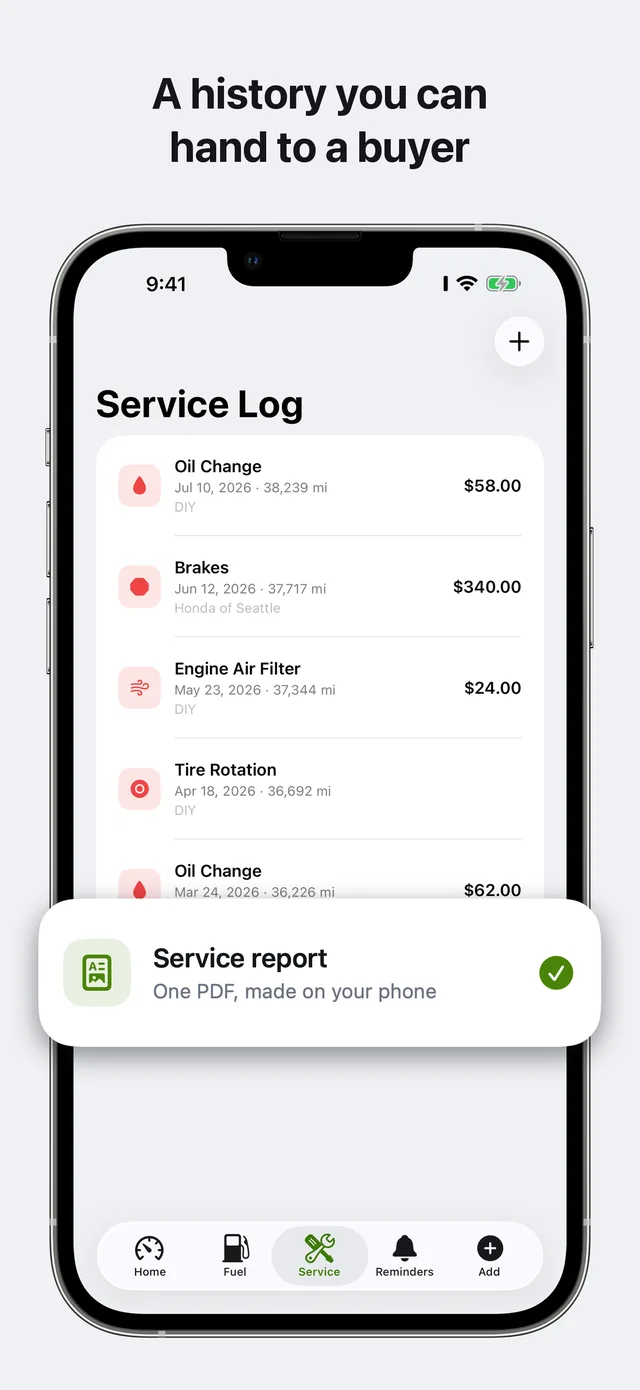
Keep your complete service history, real full-tank MPG, and diagnostic records organized on your iPhone. Carvico alerts you before service is overdue and gives you verified PDF records when you sell — 100% private on your own iCloud with zero ads.
Related Diagnostic Codes
Camshaft Position Actuator Circuit (Bank 1)
Electrical circuit fault in the intake variable valve timing (VVT) solenoid on cylinder Bank 1.
P0011Camshaft Position 'A' Timing Over-Advanced (Bank 1)
The intake camshaft timing on Bank 1 is further advanced than the ECU commanded.
P0012Camshaft Position 'A' Timing Over-Retarded (Bank 1)
The intake camshaft timing on Bank 1 is lagging behind the computer's commanded timing advance.
P0013Exhaust Camshaft Position Actuator Circuit (Bank 1)
Electrical fault detected in the exhaust variable valve timing (VVT) solenoid circuit on Bank 1.