Can You Keep Driving With Code P0340?
You can typically drive short distances to a qualified repair shop, provided the Check Engine light remains solid and is not flashing. Use caution. Vehicle may enter limp mode, experience long cranking, or stall. However, operating under this condition forces the engine control module into altered fuel or timing strategies, accelerating wear on emissions hardware and reducing power under load. Inspect vital fluids before driving.
What Code P0340 Means
Trouble code P0340 is defined by standard SAE/ISO diagnostic protocols as Camshaft Position Sensor 'A' Circuit Malfunction (Bank 1). The engine control computer monitors this circuit and mechanical subsystem continuously through dedicated telemetry sensors. When sensor readings or calculated performance metrics deviate outside calibrated factory boundaries for more than two consecutive drive cycles, the computer records Freeze Frame diagnostic data and illuminates the Check Engine light on your instrument cluster.
How the Variable Valve Timing & Valvetrain Operates
Variable Valve Timing (VVT) dynamically alters the rotational angle of the camshafts relative to the crankshaft while the engine runs. Inside the camshaft phaser gear, internal vanes separate hydraulic advance and retard chambers. The Powertrain Control Module (PCM) modulates a pulse-width modulated (PWM) oil control solenoid, porting pressurized motor oil into these chambers to adjust valve timing. Advancing the camshaft under cruising conditions optimizes valve overlap for efficiency and low emissions, while retarding timing at idle prevents rough idling and unburned hydrocarbon spikes.
Because VVT relies entirely on hydraulic pressure, performance is acutely sensitive to engine oil condition, viscosity, and oil passage cleanliness. Extended drain intervals cause sludge and varnish to accumulate on the solenoid spool valve and fine micro-mesh filter screens. When oil pressure cannot overcome mechanical friction or bypass a clogged screen, the camshaft lags behind or jams in position. The PCM compares real-time camshaft position sensor telemetry against the crankshaft reference signal; if the phase delta exceeds factory thresholds for more than two seconds, the trouble code is logged.
The Most Common Diagnostic Mistake
Don't Replace the Camshaft Position Sensor: The most common error DIYers and inexperienced mechanics make is reflexively replacing the Camshaft Position (CMP) sensor because 'Camshaft Position' is written in the code description. In over 80% of confirmed cases, the sensor is working perfectly—it is accurately reporting that the physical camshaft is mechanically out of phase. Replacing the sensor wastes $70–$150 and leaves the actual oil contamination or jammed VVT solenoid untouched. Always check engine oil level and test the oil control valve spool before suspecting sensors.
Common Symptoms & Driving Observations
When code P0340 triggers, drivers typically report one or more of the following physical driving symptoms:
- Long engine crank before starting: Extended engine cranking time before firing, particularly after sitting overnight.
- Engine stalling at low speeds: Observed while stopped at red lights or in Drive with your foot on the brake pedal.
- Lack of engine power and poor acceleration: Felt as a flat spot or delayed throttle response when attempting to merge or pass on the highway.
- Check Engine light illuminated: Illuminates steady on the dashboard to warn that onboard telemetry exceeded calibrated limits for two drive cycles.
Diagnostic Triage: Likely Causes & First Checks
To avoid spending money on unneeded parts, triage the most frequent failure points starting with the easiest and least expensive DIY checks first:
| Likely Cause | Subsystem | Triage Priority | Diagnostic Action |
|---|---|---|---|
| Defective camshaft position sensor (CMP) | Variable Valve Timing & Valvetrain | Check First (DIY) | Check battery voltage (weak battery often triggers false P0340 on cold mornings). |
| Damaged sensor connector or wiring | Variable Valve Timing & Valvetrain | DIY Inspection | Verify 5V or 12V reference signal and ground at the sensor plug. |
| Weak battery causing voltage drop during cranking | Variable Valve Timing & Valvetrain | Bench Test | Inspect sensor face for metallic shavings or engine sludge. |
| Jumped timing belt or stretched chain | Variable Valve Timing & Valvetrain | Shop Diagnostic | Replace camshaft position sensor. |
Step-by-Step Diagnostic Protocol
Follow this systematic 4-step diagnostic protocol before ordering replacement parts:
Check Engine Oil Level, Viscosity & Condition [Dipstick & Clean Cloth]
Park on level ground with the engine warmed up. Withdraw the dipstick and verify the oil level is precisely between the hatch marks. Inspect for dark black sludge, gritty particles, or fuel smell. VVT phasers fail to function when oil is low or aerated.
Pass/Fail: Oil level must be full, translucent amber/honey in color, with no black sludge.
Bench Test Solenoid Coil Electrical Resistance [Digital Multimeter (Ohms)]
Unplug the electrical connector from the oil control solenoid. Measure resistance across the two solenoid terminal pins at ambient temperature (~68°F / 20°C). Compare the reading against factory service manual specifications.
Pass/Fail: Normal coil resistance is typically 6.5Ω to 12.0Ω. Infinite resistance indicates an open circuit winding; below 4Ω indicates an internal short.
Inspect Solenoid Spool Valve & Filter Screen [10mm Socket, Ratchet, Brake Cleaner]
Unbolt the solenoid retaining bolt and carefully twist and pull the valve from the cylinder head. Inspect the fine cylindrical mesh screen for metallic debris or baked-on varnish. Apply momentary 12V power and ground to verify mechanical movement.
Pass/Fail: The micro-mesh screen must be clean. When 12V is applied, the internal spool must snap open and shut crisply with zero binding.
Scan Live Cam Angle Telemetry (Target vs Actual) [OBD-II Scanner with Live PIDs]
Connect your scan tool and monitor live PIDs for Desired Camshaft Angle vs Actual Camshaft Angle while varying engine speed from idle to 2,500 RPM. Observe how quickly actual timing tracks computer commands.
Pass/Fail: Actual angle must track commanded angle within ±2 degrees. Persistent lag greater than 5 degrees points to a failing phaser or stretched timing chain.
Estimated Repair Costs: DIY vs Professional Shop
Average repair pricing based on OEM parts, standard labor times, and national independent repair shop rates:
| Repair / Replacement Stage | DIY Parts Only | Independent Mechanic | Dealership Service |
|---|---|---|---|
| Engine Oil & OEM Filter Service | $35 – $65 | $75 – $120 | $110 – $180 |
| Variable Valve Timing (VVT) Solenoid | $45 – $130 | $180 – $320 | $350 – $550 |
| Camshaft Phaser / Timing Chain Service | $320 – $650 | $950 – $1,600 | $1,800 – $2,800 |
Related Field Guides & Cost Tools
Labor rates, parts markup, and complex engine timing or transmission repairs where DIY risks exceed savings.
Calculate your true cost of ownership, compare DIY savings against mechanic labor rates, and estimate your running cost per mile.
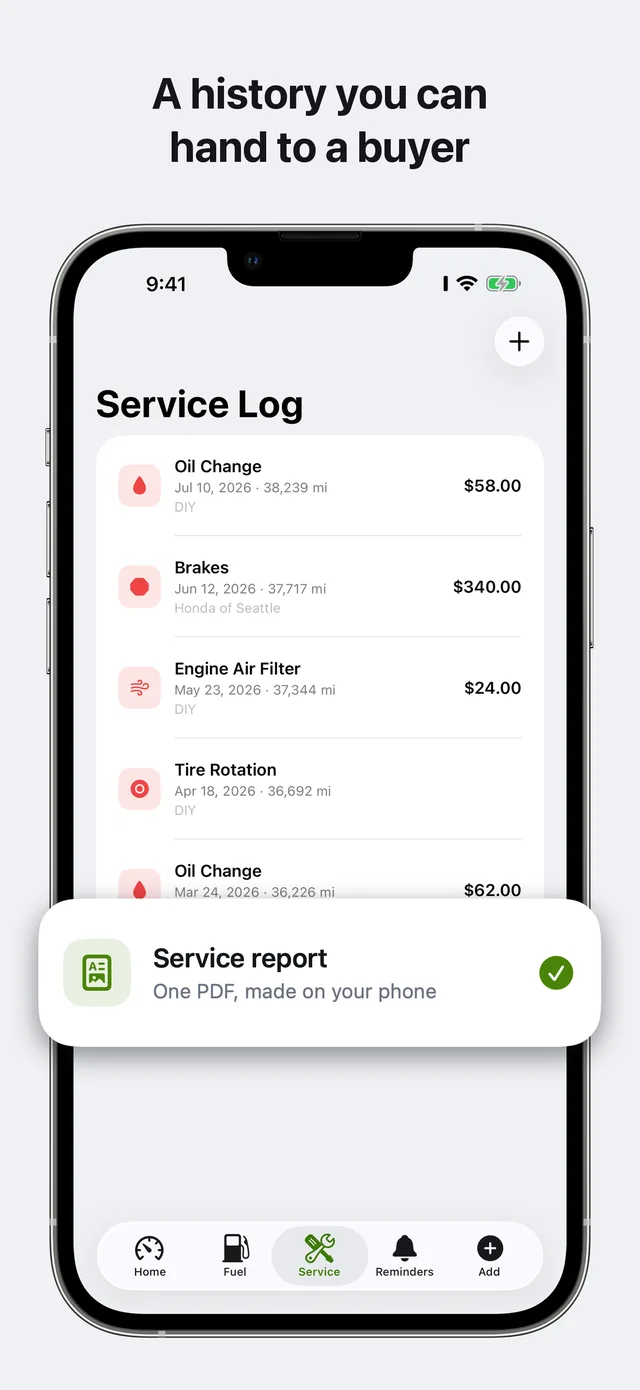
Never lose another repair receipt or fuel log
Keep your complete service history, real full-tank MPG, and diagnostic records organized on your iPhone. Carvico alerts you before service is overdue and gives you verified PDF records when you sell — 100% private on your own iCloud with zero ads.
Related Diagnostic Codes
Camshaft Position Actuator Circuit (Bank 1)
Electrical circuit fault in the intake variable valve timing (VVT) solenoid on cylinder Bank 1.
P0011Camshaft Position 'A' Timing Over-Advanced (Bank 1)
The intake camshaft timing on Bank 1 is further advanced than the ECU commanded.
P0012Camshaft Position 'A' Timing Over-Retarded (Bank 1)
The intake camshaft timing on Bank 1 is lagging behind the computer's commanded timing advance.
P0013Exhaust Camshaft Position Actuator Circuit (Bank 1)
Electrical fault detected in the exhaust variable valve timing (VVT) solenoid circuit on Bank 1.