Can You Keep Driving With Code P0234?
Driving with code P0234 active poses an immediate risk of permanent mechanical failure. NO. Overboost can cause severe engine detonation, bent connecting rods, and blown head gaskets. Continued driving can cause valve-to-piston contact, catalytic converter melting from raw fuel dumping, or sudden loss of vehicle motive power. We strongly recommend parking the vehicle or having it towed to a certified repair facility.
What Code P0234 Means
Trouble code P0234 is defined by standard SAE/ISO diagnostic protocols as Turbocharger / Supercharger Overboost Condition. The engine control computer monitors this circuit and mechanical subsystem continuously through dedicated telemetry sensors. When sensor readings or calculated performance metrics deviate outside calibrated factory boundaries for more than two consecutive drive cycles, the computer records Freeze Frame diagnostic data and illuminates the Check Engine light on your instrument cluster.
How the Turbocharger & Supercharger Boost Regulation Operates
Turbocharged and supercharged engines use forced induction to pack denser air into the cylinders, substantially increasing torque output. Exhaust gas spins a turbine wheel connected via a floating bearing shaft to an intake compressor wheel, forcing pressurized air through an intercooler into the intake manifold. The ECM regulates boost pressure via a vacuum/electronic wastegate actuator that diverts excess exhaust gas around the turbine wheel.
A Manifold Absolute Pressure (MAP) and Boost Pressure Sensor provide closed-loop feedback. If a silicone intercooler coupler slips, charge pipe cracks under boost pressure, or the wastegate actuator diaphragm tears, the system cannot achieve target boost. The ECM flags underboost codes (e.g. P0299). Conversely, a stuck-shut wastegate causes dangerously high manifold pressures, triggering overboost codes (P0234) and instant limp mode.
The Most Common Diagnostic Mistake
Don't Condemn the Turbo Without Boost Leak Testing: When an underboost code like P0299 appears, shops often quote $2,000 for a new turbocharger. In over 70% of cases, the turbo itself is mechanically sound; the air is simply leaking out of a cracked plastic intercooler end tank, a split silicone charge hose, or a torn diverter valve rubber diaphragm. Always pressure test the complete charge air plumbing with shop air before replacing turbo hardware.
Common Symptoms & Driving Observations
When code P0234 triggers, drivers typically report one or more of the following physical driving symptoms:
- Sudden engine cut-out under hard acceleration: Felt as a flat spot or delayed throttle response when attempting to merge or pass on the highway.
- Limp mode activated: Typical driving observation associated with Turbocharger & Supercharger Boost Regulation malfunctions under real-world road conditions.
- Hissing or whistling sound from turbo: Typical driving observation associated with Turbocharger & Supercharger Boost Regulation malfunctions under real-world road conditions.
- Check Engine light illuminated: Illuminates steady on the dashboard to warn that onboard telemetry exceeded calibrated limits for two drive cycles.
Diagnostic Triage: Likely Causes & First Checks
To avoid spending money on unneeded parts, triage the most frequent failure points starting with the easiest and least expensive DIY checks first:
| Likely Cause | Subsystem | Triage Priority | Diagnostic Action |
|---|---|---|---|
| Stuck or seized turbo wastegate actuator | Turbocharger & Supercharger Boost Regulation | Check First (DIY) | Check wastegate linkage for free movement by hand. |
| Faulty boost control solenoid | Turbocharger & Supercharger Boost Regulation | DIY Inspection | Inspect all vacuum and boost lines for splits or disconnections. |
| Disconnected wastegate vacuum line | Turbocharger & Supercharger Boost Regulation | Bench Test | Test boost control solenoid with 12V. |
| Modified / bad ECU tune | Turbocharger & Supercharger Boost Regulation | Shop Diagnostic | Replace wastegate actuator or turbocharger. |
Step-by-Step Diagnostic Protocol
Follow this systematic 4-step diagnostic protocol before ordering replacement parts:
Pressure Test Charge Air Cooler & Intercooler Piping [Boost Leak Tester (PVC Plug with Tire Valve & Air Regulator)]
Clamp a boost leak tester onto the turbo compressor inlet pipe. Regulate shop air to 10–15 PSI and pressurize the entire intake charge tract with the engine off.
Pass/Fail: Charge tract must hold pressure with only slow bleed through engine valves. Listen for audible hissing at intercooler seams and silicone elbow clamps.
Inspect Wastegate Actuator Arm & Flapper Valve [Mityvac Handheld Vacuum/Pressure Pump]
Connect hand pump directly to the wastegate canister. Apply vacuum or pressure (depending on OEM design) and observe the actuator arm connecting rod.
Pass/Fail: The arm must move smoothly through its full travel with zero binding or rattling. The internal wastegate flapper inside the exhaust housing must seal tight.
Test Boost Control Solenoid Resistance & Port Sealing [Digital Multimeter (Ohms) & 12V Jumper]
Unplug the electronic boost solenoid. Measure resistance across the coil pins (typically 25Ω–35Ω). Blow through the vacuum ports with solenoid unpowered, then apply 12V.
Pass/Fail: Solenoid ports must switch air path cleanly when energized with zero cross-port bleed.
Check Turbocharger Compressor Wheel Radial/Axial Play [Gloved Fingers / Dial Indicator]
Remove the intake intake boot from the turbo inlet. Carefully reach into the compressor housing and grasp the center wheel nut. Wiggle gently radially (side-to-side) and axially (in-and-out).
Pass/Fail: Radial play must be under 0.015" (wheel must never touch the aluminum housing). In-and-out axial play must be virtually zero (<0.003").
Estimated Repair Costs: DIY vs Professional Shop
Average repair pricing based on OEM parts, standard labor times, and national independent repair shop rates:
| Repair / Replacement Stage | DIY Parts Only | Independent Mechanic | Dealership Service |
|---|---|---|---|
| Intercooler Coupler / Diverter Valve Replacement | $45 – $120 | $160 – $280 | $260 – $420 |
| Electronic Boost Control Solenoid (N75/BCS) | $40 – $95 | $130 – $220 | $210 – $340 |
| Turbocharger Assembly & Oil Supply Lines | $550 – $1,400 | $1,200 – $2,200 | $2,200 – $3,600 |
Related Field Guides & Cost Tools
Calculate baseline annual maintenance funds and unexpected repair reserves for aging vehicles.
Calculate your true cost of ownership, compare DIY savings against mechanic labor rates, and estimate your running cost per mile.
Never lose another repair receipt or fuel log
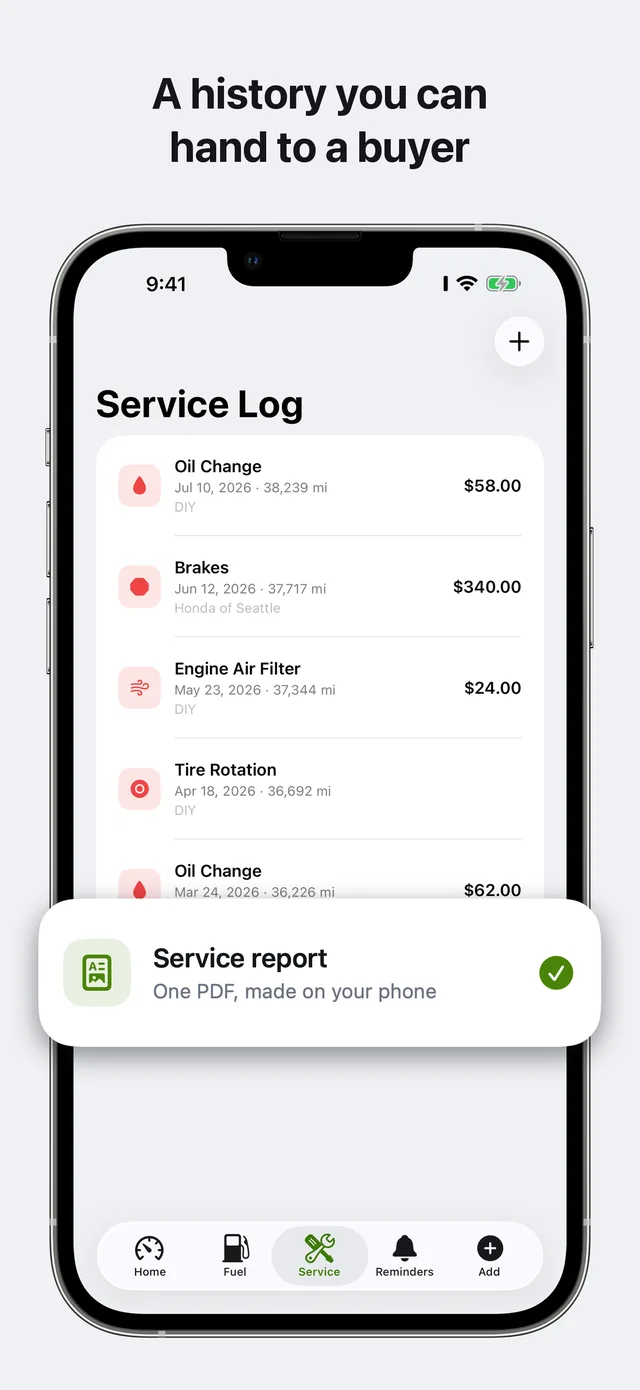
Keep your complete service history, real full-tank MPG, and diagnostic records organized on your iPhone. Carvico alerts you before service is overdue and gives you verified PDF records when you sell — 100% private on your own iCloud with zero ads.
Related Diagnostic Codes
Camshaft Position Actuator Circuit (Bank 1)
Electrical circuit fault in the intake variable valve timing (VVT) solenoid on cylinder Bank 1.
P0011Camshaft Position 'A' Timing Over-Advanced (Bank 1)
The intake camshaft timing on Bank 1 is further advanced than the ECU commanded.
P0012Camshaft Position 'A' Timing Over-Retarded (Bank 1)
The intake camshaft timing on Bank 1 is lagging behind the computer's commanded timing advance.
P0013Exhaust Camshaft Position Actuator Circuit (Bank 1)
Electrical fault detected in the exhaust variable valve timing (VVT) solenoid circuit on Bank 1.